First you need to install Worldcraft 3.3 and of course the game. You also need to download the game entity data file and example maps. The engine supports Quake 1, 2 and 3 level formats and also Half-Life BSP's. The official Force: Leashed maps use Half-Life BSP and Valve's level build tools, but you should be fine with other supported formats too.
Install Worldcraft 3.3. After that, extract and move the downloaded files (contents of fl_mappingtools.zip) to the Worldcraft install directory, so the .map files will go under Worldcraft/maps etc. Then you need to configure the game in Worldcraft. If you've mapped for Quake/Half-Life before, this should be pretty straightforward.
First choose
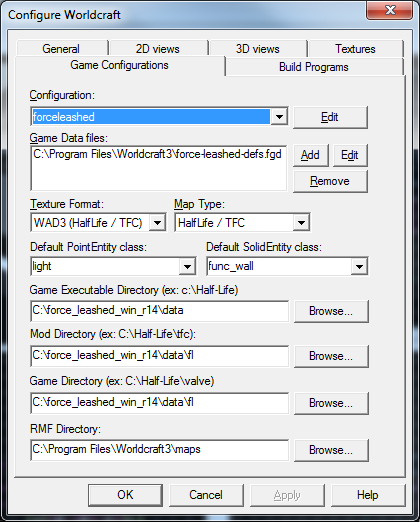
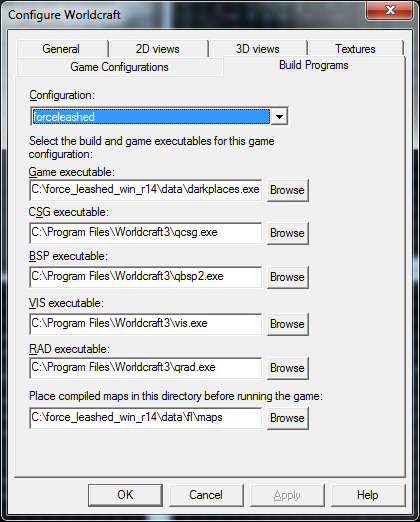
Then choose the
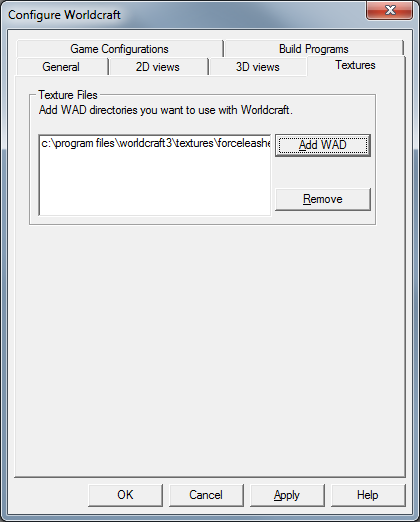
Even though the game uses separate .tga files as textures, Worldcraft expects them to be a Half-Life WAD file. That's why I have prepared forceleashed.wad to use in Worldcraft, how convenient! Choose the
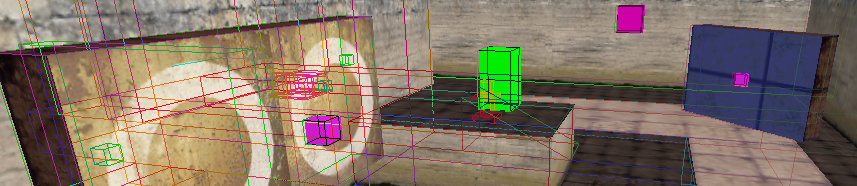
If you're familiar with Quake/Half-Life mapping, you should be able to figure things out with the example levels. If not, check out a few mapping tutorials first.
You can set custom launch options in the Run Map dialog, for example to run the game in a 1280x720 window enter
-game fl -width 1280 -height 720 -nocdaudio -window
info_player_start	Player start position
ent_turret		Shoots rockets, set the angle with the "Mangle" property.
ent_attractor		A gravity dongle
func_button 		A big button, usually used with the ti_target texture.
trigger_gravity		The "rain" effect. Use with the texture "trigger".
func_powerwall		A wall impassable to attractors. Use with the texture ti_powerwall2.
trigger_changelevel	Set the "Next map from" property to "Custom" to make the engine use the "New map name"
			instead of looking for it from the campaign table.
The recommended settings for the worldspawn object (
Skybox name:	boulder-bay_
Sunlight: 	350
Sun mangle: 	150 -50
The textures ti_remove, ti_black and sky1 all remove rockets hitting them.