
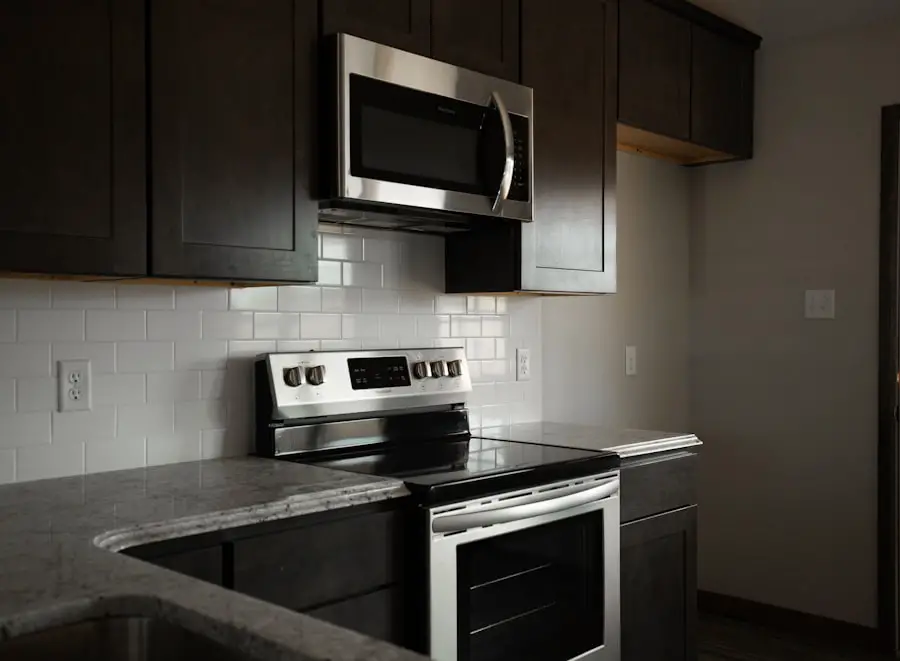
Knowing how to disassemble a Samsung dryer is an important skill for any homeowner. Whether you need to clean out lint buildup, replace a faulty part, or simply want to understand how your dryer works, being able to take it apart and put it back together is essential. In this blog post, we will discuss the step-by-step process of disassembling a Samsung dryer, covering everything from removing the control panel and knobs to detaching the motor and idler pulley. By the end of this article, you will have a comprehensive understanding of how to disassemble and reassemble your Samsung dryer.
Key Takeaways
- Safety should be the top priority when preparing for disassembly of a Samsung dryer.
- The control panel and knobs can be removed by carefully prying them off with a flathead screwdriver.
- Taking apart the dryer drum requires removing the front panel and lifting the drum out of the machine.
- Disassembling the lint filter and housing involves removing screws and clips to access the components.
- Removing the door and door switch requires disconnecting wires and carefully lifting the door off its hinges.
Preparing for Disassembly: Safety Tips and Tools Needed
Before you begin disassembling your Samsung dryer, it is important to prioritize safety. Make sure to unplug the dryer from the power source before starting any work. Additionally, wear protective gloves and safety goggles to prevent injury. It is also a good idea to have a fire extinguisher nearby in case of any accidents.
In terms of tools, you will need a few basic items to disassemble your Samsung dryer. These include a Phillips screwdriver, a flathead screwdriver, pliers, and a putty knife. It may also be helpful to have a flashlight on hand to see into tight spaces.
Preparing your workspace is another important step before starting the disassembly process. Clear the area around the dryer and make sure there is enough space for you to move around comfortably. Lay down a drop cloth or old towels to protect the floor from any dirt or debris that may fall during disassembly.
Removing the Control Panel and Knobs
The first step in disassembling your Samsung dryer is removing the control panel and knobs. Start by locating the screws that hold the control panel in place. These are typically located on the back or sides of the panel. Use your Phillips screwdriver to remove these screws.
Once the screws are removed, gently pull the control panel forward to release it from the dryer. Be careful not to pull too hard, as there may be wires connected to the panel. Take note of where these wires are connected so you can easily reattach them later.
To remove the knobs, simply pull them straight off. If they are stuck, you can use a flathead screwdriver to gently pry them off. Set the control panel and knobs aside in a safe place.
Taking Apart the Dryer Drum
Next, you will need to take apart the dryer drum. Start by opening the dryer door and removing any clothes or items inside. Locate the screws that hold the front panel in place and use your Phillips screwdriver to remove them.
Once the screws are removed, lift up on the front panel to release it from the clips holding it in place. Set the front panel aside.
To remove the drum, you will need to disconnect the belt that holds it in place. Reach underneath the drum and locate the idler pulley. Use your pliers to release tension on the belt by pulling it towards you. Once the tension is released, slip the belt off of the motor pulley and remove it from the dryer.
With the belt removed, you can now lift out the drum and set it aside.
Disassembling the Lint Filter and Housing
To disassemble the lint filter and housing, start by removing the lint filter from its slot. Set it aside for cleaning later.
Next, locate the screws that hold the lint filter housing in place. These are typically located on either side of the housing. Use your Phillips screwdriver to remove these screws.
Once the screws are removed, gently pull out on the lint filter housing to release it from any clips holding it in place. Set it aside for cleaning.
Removing the Door and Door Switch
To remove the door and door switch, start by opening the dryer door. Locate the screws that hold the door switch in place and use your Phillips screwdriver to remove them.
Once the screws are removed, disconnect the wires from the door switch. Take note of where each wire is connected so you can easily reattach them later.
With the door switch removed, locate the screws that hold the door in place. These are typically located on the inside of the dryer door. Use your Phillips screwdriver to remove these screws.
Once the screws are removed, lift up on the door to release it from any clips holding it in place. Set the door and door switch aside.
Taking Apart the Blower Wheel and Belt
To take apart the blower wheel and belt, start by locating the blower wheel housing. This is typically located at the back of the dryer. Use your Phillips screwdriver to remove any screws holding the housing in place.
Once the screws are removed, gently pull out on the blower wheel housing to release it from any clips holding it in place. Set it aside.
Next, locate the belt that connects the motor to the drum. Reach underneath the drum and locate the idler pulley. Use your pliers to release tension on the belt by pulling it towards you. Once the tension is released, slip the belt off of the motor pulley and remove it from the dryer.
With the belt removed, you can now lift out the blower wheel and set it aside.
Detaching the Heating Element and Thermostat
To detach the heating element and thermostat, start by locating them inside the dryer cabinet. The heating element is typically located at the back of the dryer, while the thermostat is usually located near the front.
Use your Phillips screwdriver to remove any screws holding these components in place. Once the screws are removed, gently pull out on each component to release them from any clips holding them in place. Set them aside.
Removing the Motor and Idler Pulley
To remove the motor and idler pulley, start by locating them inside the dryer cabinet. The motor is typically located at the back of the dryer, while the idler pulley is usually located near the front.
Use your Phillips screwdriver to remove any screws holding these components in place. Once the screws are removed, gently pull out on each component to release them from any clips holding them in place. Set them aside.
Disassembling the Exhaust Duct and Vent
To disassemble the exhaust duct and vent, start by locating the vent cover on the back of the dryer. Use your Phillips screwdriver to remove any screws holding the vent cover in place.
Once the screws are removed, gently pull out on the vent cover to release it from any clips holding it in place. Set it aside.
Next, locate the exhaust duct inside the dryer cabinet. Use your Phillips screwdriver to remove any screws holding the duct in place. Once the screws are removed, gently pull out on the duct to release it from any clips holding it in place. Set it aside.
Putting It All Back Together: Reassembling the Samsung Dryer
Now that you have successfully disassembled your Samsung dryer, it is time to put it all back together. Follow these step-by-step instructions to ensure everything is reassembled correctly:
1. Start by reattaching the exhaust duct and vent. Slide the exhaust duct back into place and secure it with screws. Then, attach the vent cover using screws.
2. Next, reattach the motor and idler pulley. Slide each component back into place and secure them with screws.
3. Reattach the heating element and thermostat by sliding each component back into place and securing them with screws.
4. Place the blower wheel back into its housing and secure it with screws.
5. Reattach the door by sliding it back into place and securing it with screws. Then, reconnect the wires to the door switch.
6. Slide the lint filter housing back into place and secure it with screws.
7. Place the drum back into the dryer and reattach the belt. Reach underneath the drum and locate the idler pulley. Use your pliers to release tension on the belt by pulling it towards you. Once the tension is released, slip the belt back onto the motor pulley.
8. Reattach the front panel by lining it up with the clips and pushing it into place. Secure it with screws.
9. Finally, reattach the control panel by connecting any wires and sliding it back into place. Secure it with screws.
Knowing how to disassemble a Samsung dryer is a valuable skill for any homeowner. By following the step-by-step instructions outlined in this blog post, you can safely and effectively take apart your dryer to clean or replace parts as needed. Remember to prioritize safety throughout the process and take note of where each component goes to ensure everything is put back together correctly.
In conclusion, maintaining a Samsung dryer requires regular cleaning and occasional repairs. By knowing how to disassemble your dryer, you can save money on professional repairs and keep your appliance running smoothly for years to come.
If you’re looking for a guide on how to disassemble a Samsung dryer, you might also be interested in this article on how to fix stick drift on a Scuf Infinity 4PS Pro. Stick drift is a common issue with gaming controllers, and this article provides step-by-step instructions on how to fix it. So, whether you’re troubleshooting your Samsung dryer or your gaming controller, Kepuli has got you covered with helpful guides and tips.


Leave a Reply
You must be logged in to post a comment.